Showing posts with label crafty. Show all posts

Saturday, July 23, 2011

Lazy days...

I've been pretty lazy about blogging lately. I guess I just haven't felt very inspired these past few weeks.

I am feeling much more pregnant lately. My belly isn't really that huge (compared to what most pregnant ladies look like about now) but I'm starting to feel like there's not much room left inside me.

My students kept asking me towards the end of the school year, "Do you hope it's a girl or a boy?" and at the time, I really didn't know! I told them that I was glad that God is the one who decides for me, or else I'd never be able to choose. And that's the truth!

But now I am so happy to have a little girl on the way. Before we knew what she was, I had to stop myself from thinking of all the cute outfits I could make for a little girl, just in case it was a boy. Now, it feels kind of surreal that we're actually having a baby, and that I can think about cute outfits to make, so I almost have to remind myself that this is really happening!

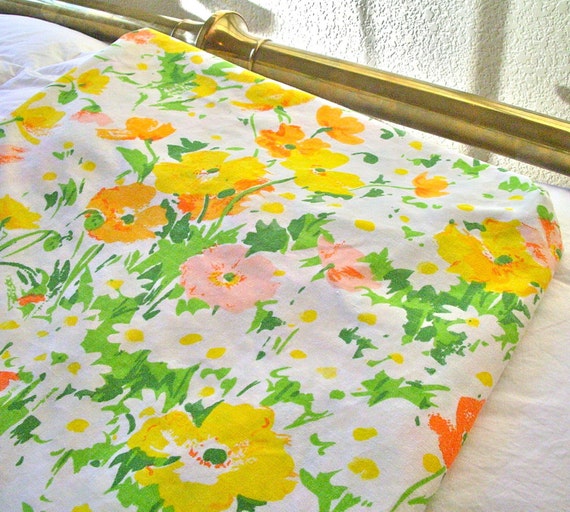
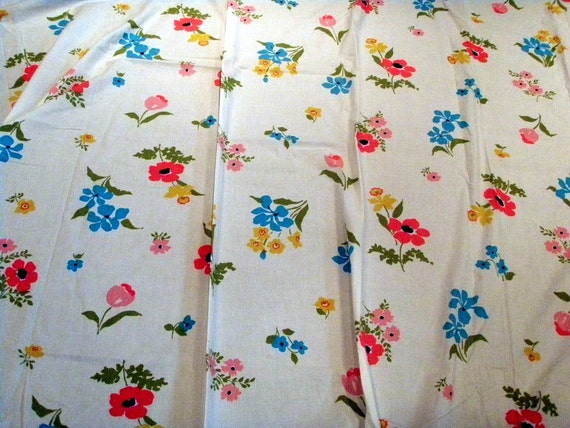
She's going to be about six months old when it starts getting warm for the summer next year, which is the perfect age for sweet little blouses and bloomers. I want to buy some vintage bed sheets to make outfits for her, like these ones.
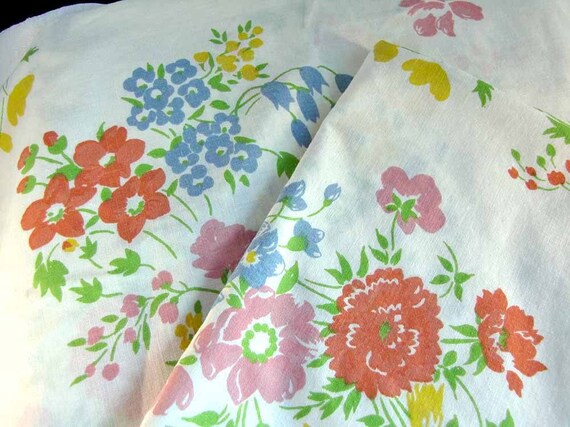
From Red Hen Studio

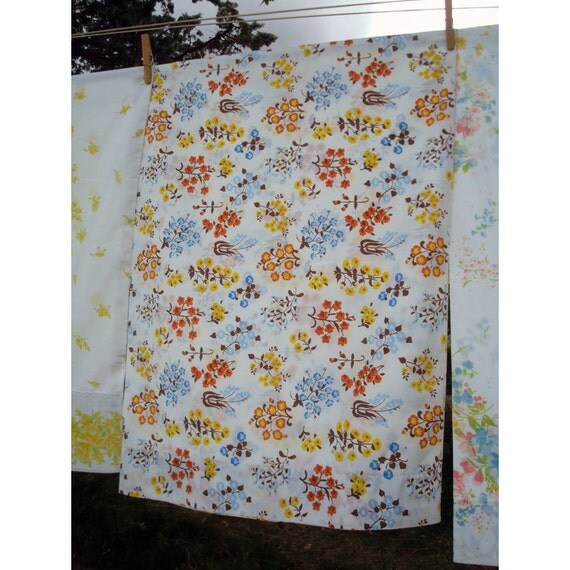
From Just Smashing Darling

From Vital Vintage

From Aestheticara

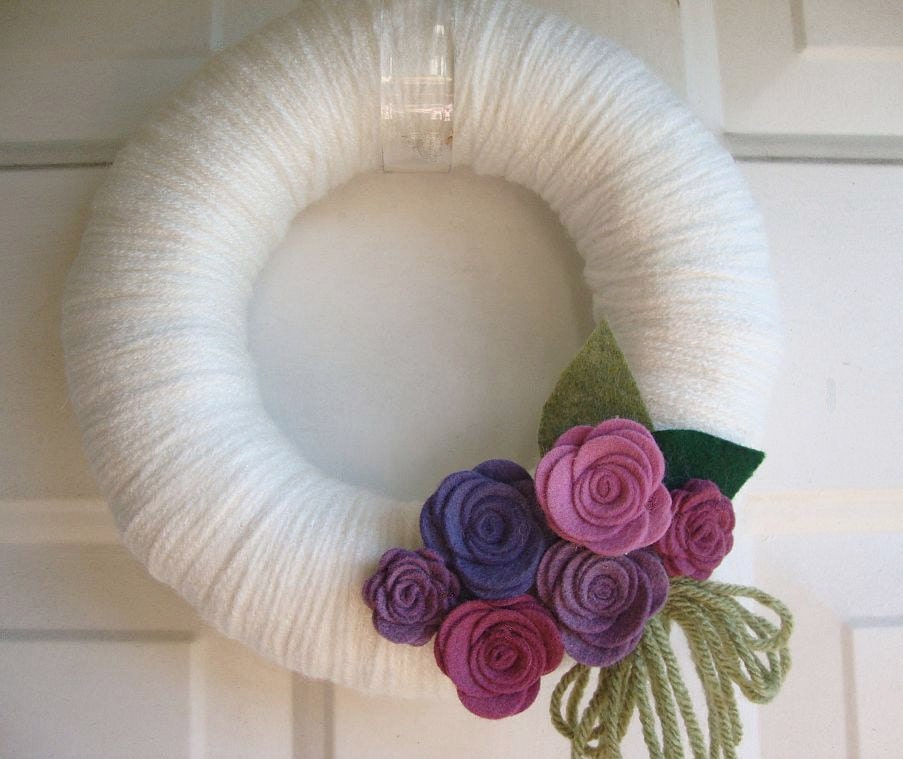
And while she's a tiny baby in the middle of winter, I'll have fun dressing up little onesies, like this link my sister shared with me:

From Grey Luster Girl

But like I said, it's still kind of surreal that we have a baby on the way. I'm sure I'll get hit with the "nesting" urge in a month or so from now and want to sit at my sewing machine all day, but for now, it hasn't happened yet.

Have any cute baby projects? Send them my way!

Wednesday, April 20, 2011

Elizabethan Evening

I'm going to use my sewing skills in a way I never thought they would be used before!

I'm going to create a Renaissance outfit. Ha! I know, it sounds so nerdy. It kind of is though! It's actually for a school event-- in a week-and-a-half or so, my school's annual "Festival of the Arts" is happening, and this year, it's something completely different (in the past it's been more like an art show)-- it's an "Elizabethan Evening". Think Shakespeare and stuff like that.

The elementary classrooms are each going to run a booth in the "peasant marketplace", and the junior highers are going to perform Shakespeare one-acts and monologues and that sort of thing. Fourth grade is doing a wool booth. You might be wondering what in the world we will sell at a wool booth, and my answer is FELT! Felt is made from wool, right? (Except we're using eco-felt... not really wool, I know, but... it was the most budget-friendly plan). I taught my fourth graders how to use a needle and thread, how to tie a knot at the end of the thread (that was the most challenging part for most of them), how to sew two basic types of stitches, how to keep your thread from unraveling when you're done sewing, and how to sew on a button. I was so proud of them for sticking to it until they got it! It was the quietest classroom you've ever heard for two hours straight. Even the boys (who weren't very excited about the project in the first place) were into it. Once we're done with all the items, I'll post a picture of everything they've made. Our goal is 75-100 items!

But back to the Renaissance peasant outfit. We have to be in costume for this Elizabethan Evening, so I went thrift store hunting for some clothing items that had potential, and I think I found a workable ensemble.

First of all, here's an image of a basic peasant outfit:

image credit


Here is what I picked up at the thrift store:


The skirt is perfect as-is, unless I actually start looking pregnant in the next ten days. The brown top is going to become a vest-like item, and the white shirt is about three sizes too large, which is good because I have more room to work with in modifying it. The collar is coming off, and the sleeves will hopefully be more "billowy" when I'm done. This is definitely my nerdiest project yet!


Sun Thrift is one of my favorite thrift stores, and I picked up some more plates for my plate wall while I was there!


I can't wait to actually put my plates onto the wall, but not while we're only living in California for less than two more months.


Last but not least, I mentioned earlier this week that I would post a picture of the baby after my appointment yesterday, but there was no ultrasound. I did get to hear a very cute heartbeat though. I'm so excited to find out if it's a boy or a girl!


.

Saturday, March 19, 2011

Make-It-Yourself

I heard about Anthropologie's new wedding line, "BHLDN", so I found the website, and swooned over dresses like this:


And this:


But my favorite things to look at, either on Anthropologie or BHLDN, are the jewelry. BUT-- it's my favorite because I like to see how much they charge for something I could make for like... one eighth the cost!!

I came across this darling little ring:


Isn't it so cute? Ok, I know that the "oui" is supposed to be symbolic of a wedding, but I would wear this all the time! Guess how much it costs.


$80! Yes, $80.

I started looking around on Etsy to see what I could find. I typed in "oui charm" into the search box, and guess what I found?


Voila! There they are. Just snip off the hole at the top with jewelry pliers, and it's the exact same thing.

So here's the rest of what I came up with. I couldn't find anything exactly like the little yellow flower on the original ring, but I think I came fairly close.

Tiny Metal Enamel Flowers: $3.75 for 20 of them

Faux Half-Drilled 3mm Pearls: $1.70 for 50

Antique Bronze Ring Base w/ 10mm pad: $4.80 for 10


And of course, you can't do it without my BFF:

E-6000 Glue: $2.50


The total cost for all of those supplies is $18.75. If you break it down per ring, it's less than $1.87. So even if you were making just one ring for yourself, and you had to order all those supplies (and you didn't want to make any for friends as gifts) you would still save $61.25!

I say: Make it yourself!

.

Wednesday, March 2, 2011

Felt Is Fun

Besides teaching fourth graders how to turn an improper fraction into a mixed number, and vice versa (it's pretty difficult stuff!), these are my other accomplishments of the day:


How was your day?

.

Sunday, February 13, 2011

New Dress

I am working on sewing a dress this week.

The fabric is pretty, and sewing with my cheery yellow pins is quite nice.

I can't wait to show you the finished product!


This is the pattern I'm using.


.

Wednesday, February 9, 2011

Felt Dahlia Tutorial

Photo credit: Megan Reardon

I made a felt dahlia just like that, and believe it or not, it was not nearly as difficult as it looks! (I would post a picture, but the ones I attempted to take with my high-tech camera phone just didn't turn out so well).

Find the tutorial here: Mother's Day Corsage

The directions are very clear and easy to follow.

My input is this: Don't stress about cutting the petals perfectly. Once they are glued on, no one will be able to tell if yours aren't the exact shape of the ones in the tutorial. My other tip: Use a glue gun. Megan Reardon, who wrote the tutorial, recommends using a glue called "Fabri-tac", and she says it takes awhile to set. Glue guns make my life so much simpler, and the hot glue bonds to felt like no one's business.

Try it out! You'll be impressed with your abilities when you're finished!


Photo credit: Megan Reardon

.

Saturday, January 22, 2011

SwapBot

Maybe I'm late to the party, but I just discovered something new.


What is it?

Here's the website's own description:
Do you like sending and receiving snail mail? Do you like writing letters, making crafts, or putting together fun packages? You should try swapping! Swap-bot is a online service that organizes group swaps and a community of creative individuals. Swap-bot takes the hassle out of participating in group swaps by organizing all of the participant information and doing all of the partner assignments. On Swap-bot, you can host swaps, join swaps, and chat with other swappers from all over the world. Give it a try!
Basically, you join the website, look for a fun swap, and trade with other like-mindedly creative people!

I spent about thirty minutes poking around on the site this morning, and found at least five swaps that I want to join. Lots of the swaps are penpal-esque, as in, postcard swaps, letter swaps, etc., but I found an earring swap that I want to join, and several others! The best part is that it's free, except for the tiny cost of shipping an item to someone else. Swap-Bot is also not confined to the U.S.! I like the idea that I could participate in an earring swap with someone from Europe, or trade recipes with someone in Australia. I also like that you can participate as much or as little as you would like.


Months ago, I discovered a similar site hosted on blogspot called We-Swap. I thought it was cool, and (if you check it out) you'll see that it is, but Swap-Bot's community far surpasses We-Swap. On Swap-Bot, you can participate in group swaps (like the earring swap) or in individual swaps via the forum boards. No matter how you swap, it's almost always a surprise, and it's a way to connect with creative people whom you would never have known!

For example, I signed up for a blogspot swap. Tomorrow the swap closes, and the moderator will join everyone in the swap up with ten other bloggers. The participants' jobs are to read the blogs of those with whom they're been paired and comment on their blogs. I'm excited to read new blogs, probably in categories I wouldn't normally seek out.

Look around on Swap-Bot! I'm curious to hear your thoughts. Does it sound exciting to you? Are you interested in joining any swaps? Will you join any? If you do, tell me which one you joined, and what the results are. I'm so curious to know!


.

Tuesday, January 11, 2011

Felt Flower Tutorial

I love making things out of felt! It's so easy to work with because it practically holds itself together as you go, and there are so many pretty colors that the possibilities are nearly endless!

Today I thought I'd offer you a felt flower tutorial for these little beauties:


What can you do with them? I think they would make a darling headband for a little girl-- in any color or combination of colors-- or perhaps one or two would make a nice brooch for a cardigan or a wool coat. Another idea is a yearn wreath. I have seen these wreaths becoming more and more popular, and I think I'm going to try my hand at creating a spring wreath... perhaps something like one of these:


I think they're so pretty, and just perfect for spring! Those wreaths are from an Etsy seller called Anna Hailey.

Moral of the story, there's lots you can do with a felt flower!

So on to the tutorial!

Materials:
  • Hot glue gun
  • Green felt
  • Yellow felt
  • Any other color that you like for the flower petals
  • Scissors


Aren't they cute! I can't wait to experiment with making a felt wreath... possibly using this style of flowers. If you make one (or more!) of these, tell me what you did with it, and how your project turned out!


.

Saturday, August 21, 2010

Glorious


This is a large pile of felt.

And I'm going to make stuff with it.

I'll show you when I'm done.

Yay!!