|
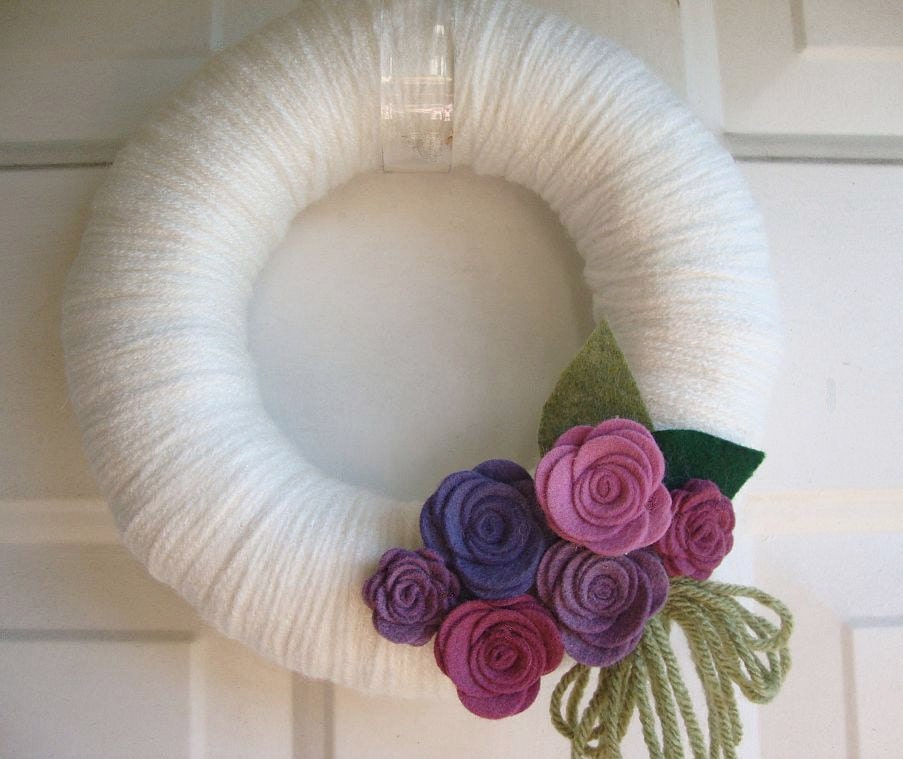
| Photo credit: Megan Reardon |
I made a felt dahlia just like that, and believe it or not, it was not nearly as difficult as it looks! (I would post a picture, but the ones I attempted to take with my high-tech camera phone just didn't turn out so well).
Find the tutorial here: Mother's Day Corsage
The directions are very clear and easy to follow.
My input is this: Don't stress about cutting the petals perfectly. Once they are glued on, no one will be able to tell if yours aren't the exact shape of the ones in the tutorial. My other tip: Use a glue gun. Megan Reardon, who wrote the tutorial, recommends using a glue called "Fabri-tac", and she says it takes awhile to set. Glue guns make my life so much simpler, and the hot glue bonds to felt like no one's business.
Try it out! You'll be impressed with your abilities when you're finished!
 |
| Photo credit: Megan Reardon |
.